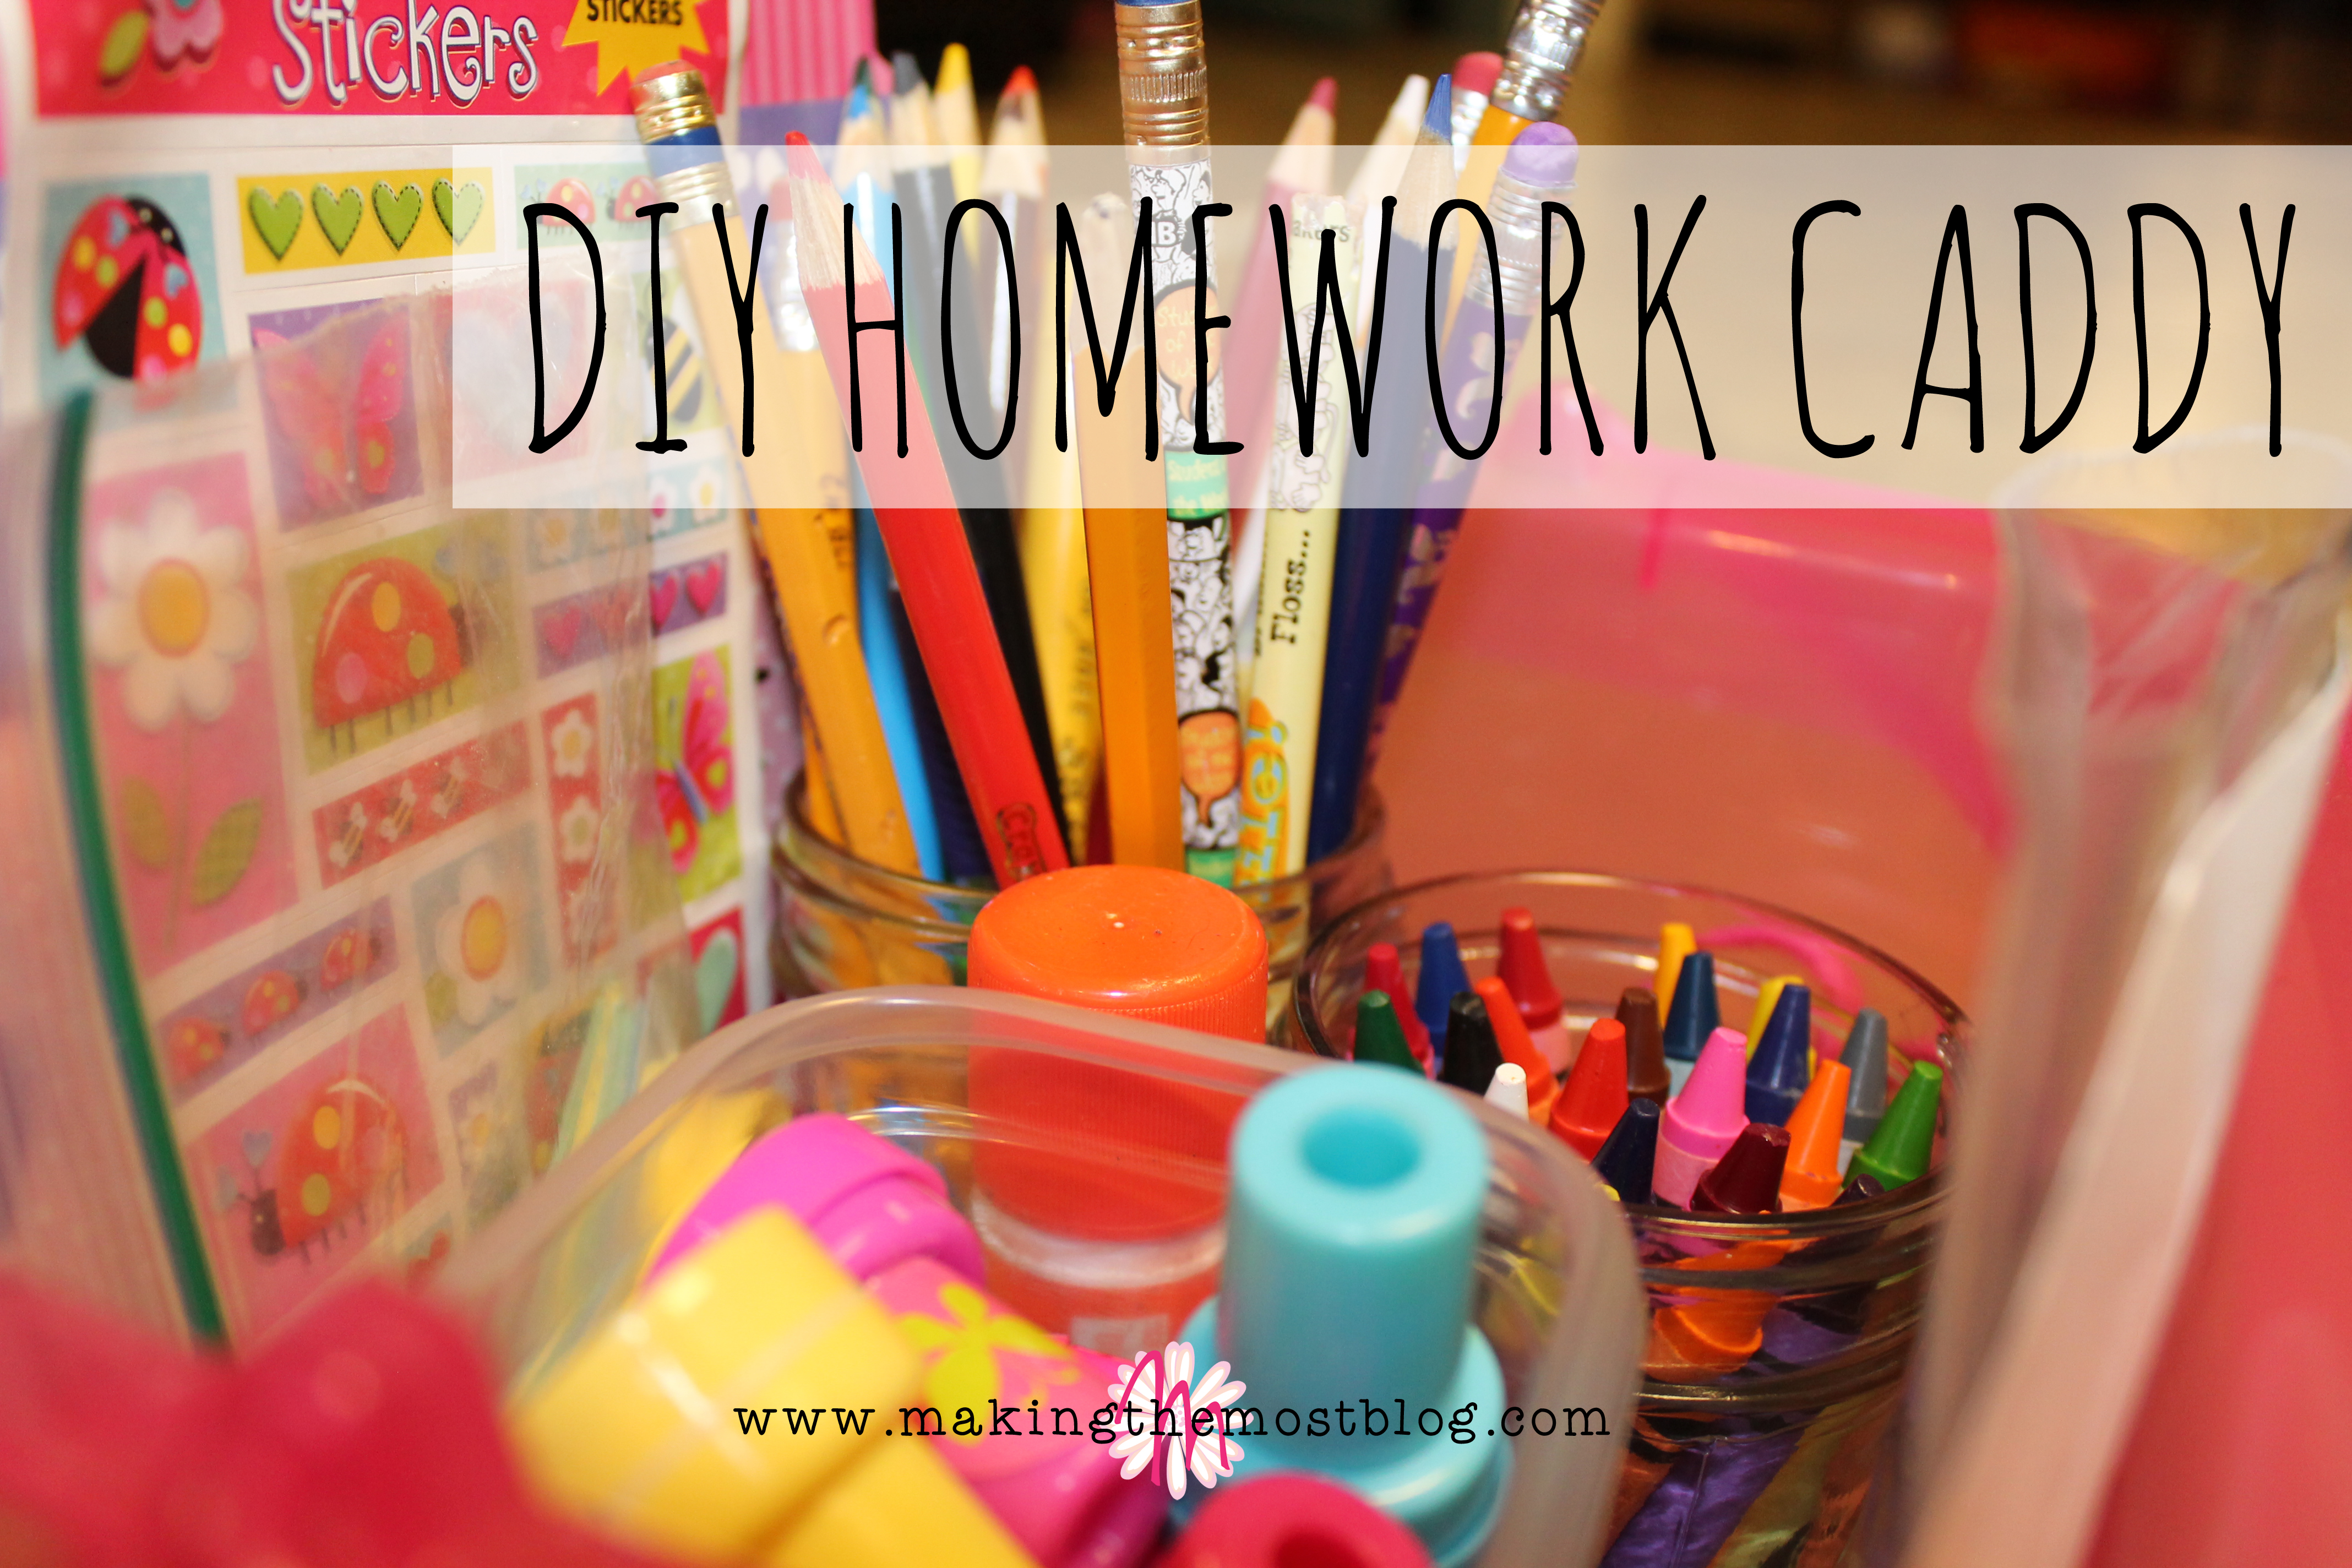
DIY Homework Caddy
Let me just start by saying that this DIY Homework Caddy has been a lifesaver at our house. We don’t really have room in our house for an extra desk for the kids to work at, so they have to do their schoolwork at the kitchen table. Before I put together these caddies, cleaning up the mess after the kids were done their work was just a nightmare. You know–glue sticks, crayons, pencils all over the table–and no where really to put them.
And of course, having limited funds, we were looking for some very inexpensive items to make our lives a little bit easier. This is obviously great for younger kids, but I not sure if teenagers would appreciate this. They might prefer something like this write my descriptive essay for me if they are struggling, but obviously it’s up to you for how you want to help them.
The first thing I did was go to the Dollar Tree. Now before you argue against the dollar store let me just say that some things are completely worth that one dollar. Like this bin, for instance. Not only is it small enough to fit in a compact space, but it’s large enough to hold everything AND it has a handle! Woohoo! I’m all about spending $1 on that. And it’s not too flimsy too, so that was helpful. I also picked up a pack of tiny Ziploc containers and had a bunch of mason jars lying around, and that was really all I needed.
I was able to fit two mason jars in this caddy: one for pencils and the other for crayons. I fit two of the Ziploc containers in here, one on top of the other: one for erasers and one for stamps (we used stamps for reading charts in first grade). There’s also enough room in here to fit a glue stick, a pair of scissors, and a pack or two of stickers (for rewards or reading charts) as well as any flash cards you may have.
I hope you find this Homework Caddy as simple and inexpensive as we did and that you can use it for many years.
If you have any additional suggestions for this homework caddy, I’d love for you to share them with me in the comments.

